
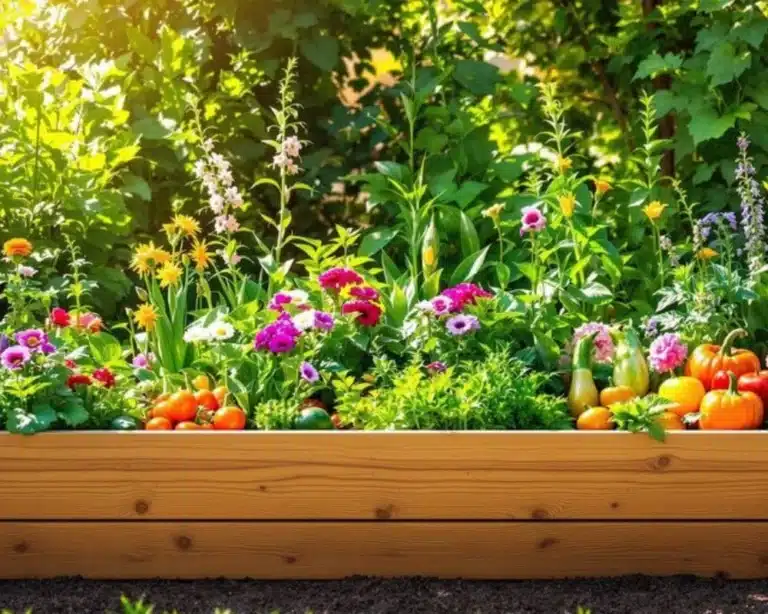
Thinking about upping your gardening game? Cedar raised garden beds might just be your new best friend. They’re not just pretty to look at; they’re practical too. Whether you’re a newbie or a seasoned gardener, these beds can make your life a whole lot easier. Let’s dig into why you should consider cedar for your raised garden beds and how to make the most out of them.
Table of Contents
Understanding the Benefits of Cedar Raised Garden Beds
Why Choose Cedar for Your Garden Bed
When it comes to selecting materials for your raised garden beds, cedar stands out as a top choice. Cedar’s natural resistance to rot and pests makes it ideal for outdoor use. Unlike other woods, cedar contains natural oils that deter insects and prevent decay, ensuring your garden bed lasts longer. This means less maintenance and more time enjoying your garden. Plus, cedar’s rich color and pleasant aroma enhance your garden’s aesthetic appeal.
Environmental Advantages of Cedar
Cedar is not just good for your garden; it’s good for the planet too. Harvested from sustainably managed forests, cedar is a renewable resource. Its production has a lower environmental impact compared to other materials like plastic or treated lumber. By choosing cedar, you’re supporting eco-friendly practices and contributing to a healthier environment.
Durability and Longevity of Cedar Beds
One of the most compelling reasons to choose cedar is its durability. Cedar wood can withstand harsh weather conditions, from heavy rain to intense sun, without warping or splitting. This means your investment in a cedar raised garden bed will pay off over many years. Additionally, cedar’s durability ensures that your plants have a stable and secure environment to thrive in, year after year.
Cedar raised garden beds offer a winning combination of beauty, sustainability, and longevity, making them a smart choice for any gardener looking to maximize their harvest.
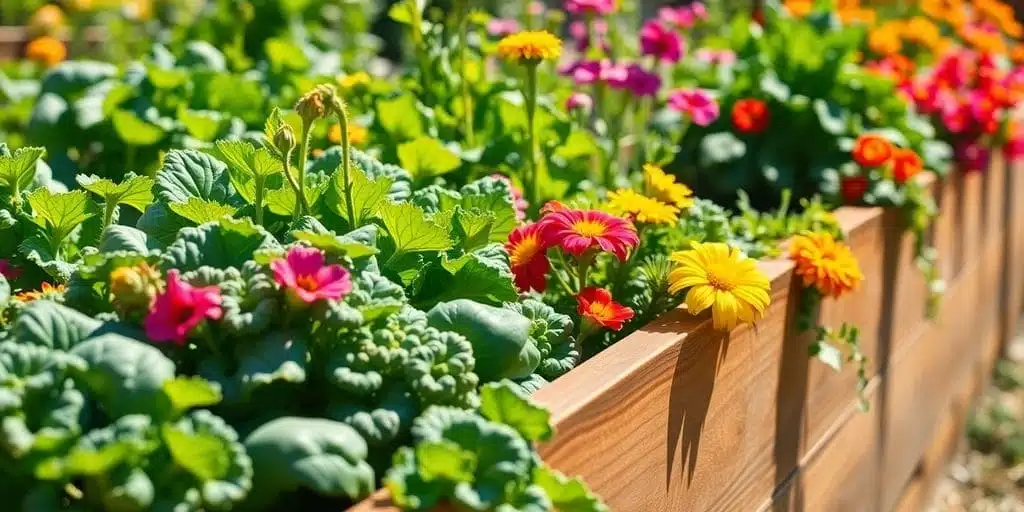
Designing Your Cedar Raised Garden Bed for Maximum Yield
If you’re looking to elevate your gardening experience beyond traditional ground gardens, consider investing in Cedar Planters. This long-lasting type of wood is ideal for creating planter boxes or a versatile garden box that serves as the perfect bed garden. By combining sturdy cedar boards with quality garden soil, you’ll cultivate an environment where plants can flourish in both beauty and vigor.
Optimal Bed Dimensions and Layout
When you’re setting up your cedar raised garden bed, getting the dimensions right is key. A common size is 4 feet wide by 8 feet long, which offers a good balance between space and accessibility. This size allows you to reach every part of the bed without stepping into it, preserving the soil structure. Keep in mind the height too; around 12 to 18 inches is ideal for most vegetables, providing enough depth for roots to thrive.
Incorporating Trellises and Supports
Adding trellises or other supports can significantly boost your garden’s productivity. They allow climbing plants like beans and peas to grow vertically, saving space and improving air circulation. Consider using natural cedar trellises to match your garden bed. They’re not only functional but also add a nice aesthetic touch to your garden.
Choosing the Right Location for Sunlight
Location is everything when it comes to gardening. Your cedar raised bed should be placed where it gets at least 6 to 8 hours of sunlight per day. Avoid areas with too much shade from trees or buildings. If possible, position the longer side of the bed facing south to maximize sun exposure. This setup ensures your plants get the light they need to grow robustly.
Remember, a well-designed raised bed can transform your gardening experience. With the right dimensions, supports, and location, you’re setting the stage for a bountiful harvest.
Soil Preparation and Maintenance for Cedar Raised Beds
Selecting the Best Soil Mix
Choosing the right soil mix is like setting the foundation for a successful garden. A high-quality soil mix is crucial for healthy plant growth. Ideally, your soil should be a balanced blend of loam, sand, and clay, enriched with organic matter. This mix ensures good drainage while retaining adequate moisture, which is essential for plant roots.
Composting and Soil Amendments
Incorporating compost into your soil is a game changer. Compost enriches the soil with nutrients, improves its structure, and promotes beneficial microbial activity. Aim to mix in a layer of compost at least once a year. Additionally, consider using amendments like bone meal or greensand to address specific nutrient deficiencies.
Irrigation Techniques for Healthy Growth
Proper watering is key to a thriving garden. Drip irrigation systems are highly recommended for cedar raised beds as they provide consistent moisture without waterlogging the soil. Make sure to water early in the morning or late in the afternoon to minimize evaporation and ensure that plants absorb the maximum amount of water. Also, mulching around plants can help retain moisture and reduce the frequency of watering.
Maintaining healthy soil in your cedar raised bed is an ongoing process, but with the right techniques, your garden will flourish season after season.
Planting Strategies for Cedar Raised Garden Beds
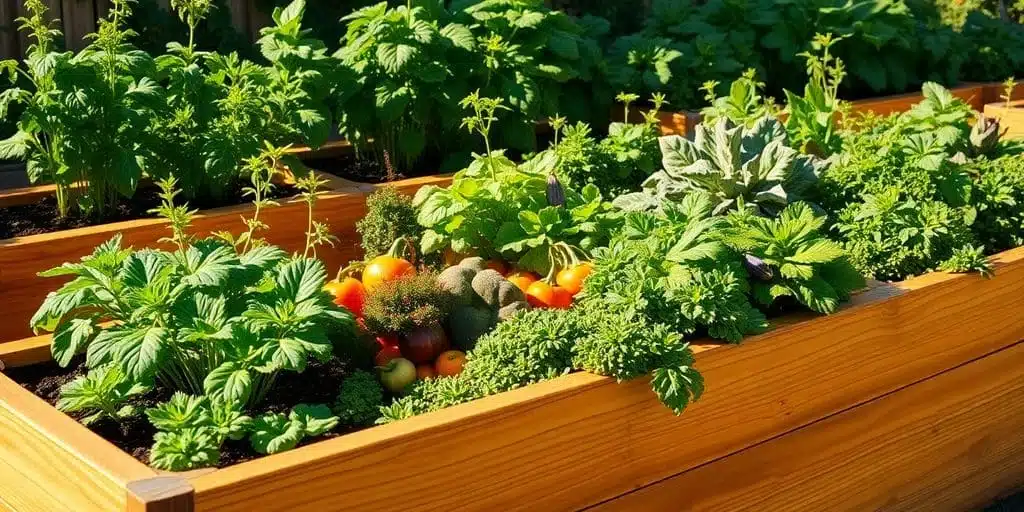
Companion Planting for Success
Companion planting is like a matchmaking game for your plants. Some plants just get along better together, helping each other grow strong and healthy. For instance, tomatoes and basil are a classic duo. Basil can help repel pests that love tomatoes, and they both thrive in similar conditions. Another great pair is carrots and onions; onions can deter carrot flies, making the garden a happy place. Here’s a quick list of companion plants to consider:
- Tomatoes and Basil
- Carrots (like purple carrots ) and Onions
- Armenian Cucumber and Radishes
- Butterhead Lettuce
Seasonal Planting Tips
Timing is everything when it comes to planting. Spring is the perfect time to get your greens like lettuce and spinach in the ground. As the weather warms up, switch to summer veggies like peppers and eggplants. In fall, root veggies such as beets and turnips can take the spotlight. Remember, each plant has its own growing season, so plan accordingly to keep your garden producing all year.
Using Cold Frames and Cloches
Cold frames and cloches are like little greenhouses for your garden. They help extend the growing season by protecting plants from frost and chilly winds. If you’re eager to start planting early, these tools can be invaluable. Simply place a cold frame over your seedlings during the cooler months, or use cloches to protect individual plants. This way, you can enjoy fresh produce even when the weather isn’t cooperating.
Planting in cedar raised garden beds offers a unique opportunity to maximize your harvest by carefully planning your planting strategy. Whether it’s pairing plants that work well together or using tools to extend the growing season, each decision can lead to a more fruitful garden.
Maintaining Your Cedar Raised Garden Bed Throughout the Year
Spring Setup and Planting
Spring is the season of renewal, and your cedar raised garden bed is no exception. Start by ensuring your beds are ready to go as the frost thaws. Make sure to add or refresh the soil with nutrient-rich compost to kickstart plant growth. Set up irrigation systems if you haven’t already. A drip irrigation system can be a lifesaver, ensuring that your plants get just the right amount of water without waste. Plant your seeds and starter plants, choosing varieties that thrive in your climate. Consider using cold frames or cloches to give your seedlings a head start in the cooler months.
Summer Care and Watering
Summer is all about keeping your plants hydrated and healthy. As the temperature rises, maintaining optimal moisture levels in your garden beds is crucial. Water deeply but less frequently to encourage strong root systems. A soil moisture meter can be an invaluable tool here. Keep an eye out for weeds and remove them promptly. Mulching can help retain moisture and suppress weed growth, making it a must-do task during the hot months.
Fall Cleanup and Winter Preparation
As the growing season winds down, it’s time to prepare your garden beds for winter. Clear out any dead plants and debris, which can harbor pests and diseases. Plant cover crops like clover or rye to enrich the soil and prevent erosion. Top up mulch to protect the soil from harsh winter conditions. Consider adding a layer of organic material to decompose over the winter, enriching your soil for the next planting season.
Year-round maintenance of your cedar raised garden bed not only maximizes your harvest but also ensures a thriving garden for seasons to come. By staying proactive, you set the stage for a lush and productive garden.
Enhancing Your Cedar Raised Garden Bed with Accessories
Adding Greenhouse Covers
Greenhouse covers are a fantastic way to extend your growing season. By trapping heat, these covers ensure your plants remain warm even when the temperature drops. This means you can start planting earlier in the spring and continue harvesting well into the fall. Consider using a lightweight, transparent material that allows sunlight to penetrate while keeping the cold out. These covers also protect your plants from pests and harsh weather conditions.
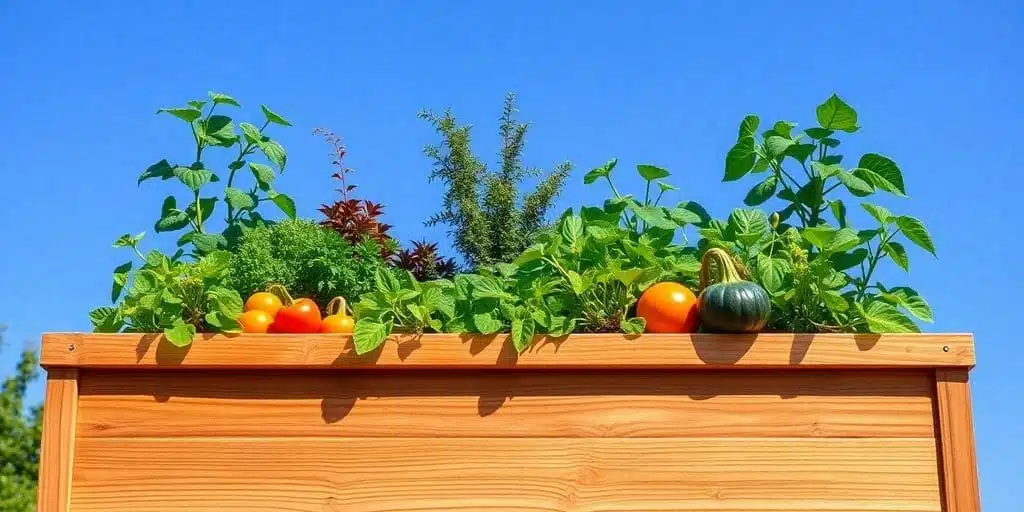
Incorporating Vertical Gardening
Vertical gardening is a smart strategy for maximizing space in your cedar raised garden bed. By growing plants upwards, you can fit more into a smaller area. Use trellises, cages, or stakes to support climbing plants like tomatoes, beans, and cucumbers. This method not only saves space but also improves air circulation around your plants, reducing the risk of disease. Plus, harvesting becomes much easier when fruits and vegetables are off the ground.
Utilizing Mulch and Ground Covers
Mulch is an essential addition to any garden bed. It helps retain moisture in the soil, suppress weeds, and regulate soil temperature. Organic mulches, such as straw, wood chips, or shredded leaves, gradually decompose, adding nutrients back into the soil. Ground covers, on the other hand, are low-growing plants that spread across the soil surface. They offer similar benefits to mulch while also providing a habitat for beneficial insects. Choose ground covers that complement your main crops to create a thriving ecosystem in your garden bed.
Enhancing your cedar raised garden bed with the right accessories can make a significant difference in your gardening success. Whether it’s by extending your growing season, saving space, or improving soil health, these additions are worth considering for any serious gardener.
DIY Tips for Building Cedar Raised Garden Beds
Essential Tools and Materials
Building a cedar raised garden bed can be a rewarding weekend project. You’ll need just a few basic tools and materials to get started. Here’s a list to guide you:
- Tools: Saw, screwdriver, measuring tape, level, and a drill.
- Materials: Cedar planks (preferably 2×6 or 2×8), stainless-steel screws, and a non-toxic wood preservative.
Cedar is naturally resistant to rot, making it an excellent choice for garden beds. Make sure your wood is untreated to avoid chemicals leaching into the soil.
Step-by-Step Construction Guide
Creating your own cedar raised garden bed is straightforward. Follow these steps for a successful build:
- Plan Your Design: Decide on the dimensions of your bed. A common size is 4 feet by 8 feet, which allows easy access from all sides.
- Cut the Wood: Measure and cut your cedar planks to the desired lengths.
- Assemble the Frame: Use your drill and screws to secure the planks together, forming a rectangular frame.
- Position the Bed: Place the frame in your desired location, ensuring it’s level.
- Prepare the Soil: Line the bottom with landscape fabric to prevent weeds, then fill with a mix of topsoil and compost.
Cost-Effective Building Solutions
Building a cedar raised garden bed doesn’t have to break the bank. Here are some tips to keep costs down:
- Buy in Bulk: Purchase materials in bulk to save money.
- Use Recycled Materials: Consider using reclaimed cedar or other wood for a rustic look.
- DIY Soil Mix: Blend your own soil using compost and topsoil to reduce expenses.
Building your own cedar raised garden bed not only saves money but also allows you to customize the design to suit your space and gardening needs. With a bit of effort, you can create a beautiful and functional addition to your garden.
Troubleshooting Common Issues in Cedar Raised Garden Beds
Pest and Disease Management
Cedar raised garden beds are typically resistant to pests and diseases, but sometimes you might still face issues. Regular inspection is key. Look for signs like yellowing leaves or chewed edges. If pests are found, natural remedies like neem oil or insecticidal soap can be effective. For diseases, ensure proper spacing for airflow and remove any infected plants promptly.
Addressing Soil Compaction
Soil compaction can hinder plant growth by restricting root expansion and water drainage. To combat this, avoid stepping on the soil and use a garden fork to gently loosen it. Incorporating organic matter like compost can also help maintain soil structure and prevent compaction.
Improving Drainage and Aeration
Poor drainage can lead to root rot and other issues. If your cedar bed retains too much water, consider these fixes:
- Add Coarse Material: Incorporate sand or fine gravel into the soil mix to improve drainage.
- Elevate the Bed: Ensure the bed is slightly elevated or sloped to allow excess water to flow away.
- Install Drainage Holes: If possible, add small holes at the base of the bed to facilitate water escape.
Remember, a well-maintained cedar raised bed not only boosts plant health but also ensures a bountiful harvest.
Conclusion
Wrapping up, cedar raised garden beds are a fantastic way to boost your gardening game. They’re not just about looking good; they make growing veggies and flowers a whole lot easier. With the right setup, you can grow more in less space, and who doesn’t love that? Plus, they’re easier on your back and knees, which is a win in my book. So, if you’re thinking about starting a garden or upgrading your current setup, give cedar raised beds a shot. You’ll be amazed at how much you can grow and how simple it can be. Happy gardening!
Frequently Asked Questions
What makes cedar a good choice for garden beds?
Cedar is naturally resistant to bugs and rot, making it a durable option for garden beds. It also lasts a long time without needing chemicals to protect it.
How do I choose the right spot for my cedar garden bed?
Pick a place that gets at least 6 to 8 hours of sunlight every day. Avoid areas that are too wet or shaded.
What size should my cedar raised garden bed be?
A good size for many plants is 4 feet wide by 8 feet long. This size makes it easy to reach plants without stepping on the soil.
How do I keep my plants healthy in a cedar raised bed?
Use a mix of good soil and compost. Water your plants regularly, and add mulch to keep the soil moist and stop weeds.
Can I build my own cedar raised garden bed?
Yes, you can! With some basic tools like a saw and screwdriver, you can build your own bed. Just make sure to use safe materials.
What should I do if I see bugs or diseases in my garden bed?
Check your plants often and remove any sick parts. You can use natural sprays or introduce helpful insects to keep pests away.
1 thought on “Cedar Raised Garden Bed Magic: Transform Your Harvest Now!!!”